|
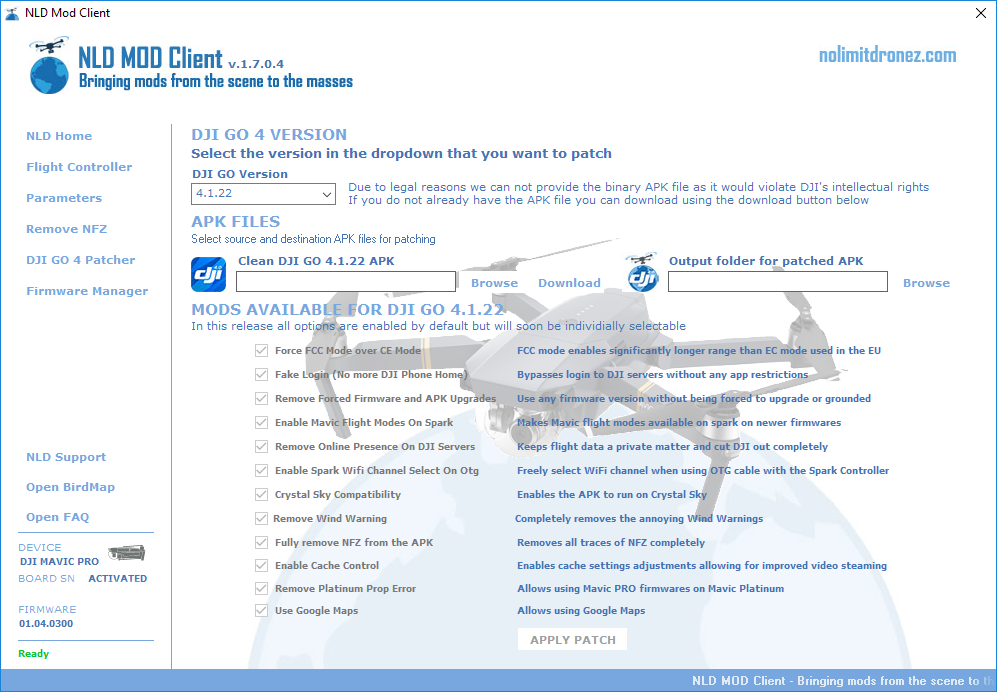
Instructions for the NLD CS version
Prerequisites: If you want to use the NLD CS version, your CS needs at least to be rooted. This can be done with the content of this githib repo : https://github.com/Opcodeffm/csroot The instructions there are pretty clear. It's tested for 5.5 and 7.85 and works with all version up to (and including 2.06.06.00)
To take full advantage of NLD CS (and your CS in general) better is to also (also means you first need to root the device) have Google Playstore and Play service also installed. Once root is gained, you need a flashing tool and the needed zip which contains the Play Store, Framework etc.
The flashing tool can be downloaded here: https://www.apkmirror.com/apk/chainfire/flashfire/ The needed zip can be downloaded here: http://opengapps.org/ Choose Platform: “ARM” Android: “5.1” Variant: “pico” (really take care choosing the right version)
- Install flashfire flasher
- Give flashfire su, if asked (should be asked)
- Copy the zip (i.e. open_gapps-arm-5.1-pico-20170811.zip) to an sd card, plug it in the CS sd1 slot
- In flashfire, tap the “+” sign on the right hand corner.
- Choose “Flash ZIP or OTA”
- Tap on top of the filebrowser to change to “Filesystem root”
- Navigate to “mnt/external_sd1”
- Choose your zip file
- Leave “Auto-mount” and “Mount/system read/write” unchecked
- Hit the checkmark and there you go
After several reboots, you will be greeted with the setup assistant. Step through it, make your settings and thats should be it.
WARNING!
Triple Check the choosen Platform, Android Version and Variant to avoid flashing wrong software, which could brick your device. Execute the steps carefully and you should be good. This has been tested on an CrystalSky 5.5 and 7.85, System Version up to 2.06.06.00 Once installed, you may be required to self register the CS as an uncertified Android device.
Install android platform-tools for you system (can be downloaded from here : https://developer.android.com/studio/releases/platform-tools/ ) just need to unzip the somewhere on you filesystem.
Then hook you CS to PC with a USB cable (can be from the USB-C or micro USB ports) and from a terminal window opened in the platform-tools directory do :
- adb shell - (this will put on on a command line device on CS side)
- su - (this will make you the root user on CS)
- cp /data/data/com.google.android.gsf/databases/gservices.db /mnt/sdcard/Downloads - (this will copy a db that contains you device unique Id in non root readable area of filesystem)
- exit - (this will return to the PC side command line)
- adb pull /mnt/sdcard/Downloads/gservices.db - (this will make a copy of this db on the PC)
- sqlite3 gservices.db "select * from main where name = \"android_id\";"
- this should spit a unique Id Copy and paste it to
This should spit a unique Id Copy and paste it to the follwoing page : https://www.google.com/android/uncertified/ opened on a browser with you Google Account openned.
Wait a few minutes for the device to be authorized on Google servers... And now you should be able to open the PlayStore on your CS and install any app you like from there.
CS Specifics
With firmware 2.06.03.00 and 2.06.06.00 of crystal sky (5.5 and 7.85 versions) there is a bug in DJI Launcher that cause the following side effect :
The NLD app gets hidden (it not showing anymore in the app list) the first time you press the middle button (the one that usually brings WLAN / brightness settings). There are 2 main workarounds for this.
The first is "temporary" i.e. the NLD app will show again bu dissapear again at next boot when you press the middle button. The second one is more permanent.
Workaround 1
From an adb shell from PC or a terminal opened on the CS (e.g. with this app : https://play.google.com/store/apps/details?id=com.kibou.androidshell)
issue the command : su -c "pm enable dji.pilot.pad"
as simple as this : the NLD app will be un-hidden and useable with all settings maintained etc. The terminal app given above allows to have a command executed each time you open a new terminal tab, so if you enter the command above, it will be quite easy to use.
Workaround 2
install the root enabled file explorer ES Explorer Pro : https://play.google.com/store/apps/details?id=com.estrongs.android.pop.pro&hl=fr it's a paid app, but really worth it ! From ES Explorer Pro, enable the root mode (there is a small slider to do so) and navigate to the normally inaccesible filesystem section :
/data/data/dji.system.launcher/shared_prefs/
copy the file dji.system.launcher.xml to the local storage /Downloads
From there, open the file with a text editor (ES Explorer Pro got an embedded one) and modify the file so it looks like :
The line to add/modify is : <string name="KEY_MUTEX_PREF_PKG">dji.pilot.pad</string>
it may be missing or be : <string name="KEY_MUTEX_PREF_PKG">dji.go.v4</string>
Once again, add or change it to : <string name="KEY_MUTEX_PREF_PKG">dji.pilot.pad</string>
Save the file
Once the file is saved, copy it from /Downloads (in local storage) to the original place : /data/data/dji.system.launcher/shared_prefs/ and overwrite the original file.
Do the workaround 1 once. Reboot CS. Should now never loose NLD app.
The copy/overwrite needs to be done with ES Explorer Pro as it handles properly overwriting a file with read/only partitions etc. If you try to modify it directly, the unmodified version would be restored automatically from a cache, erasing your changes.
|

